Tips and Tricks to use Photoshop
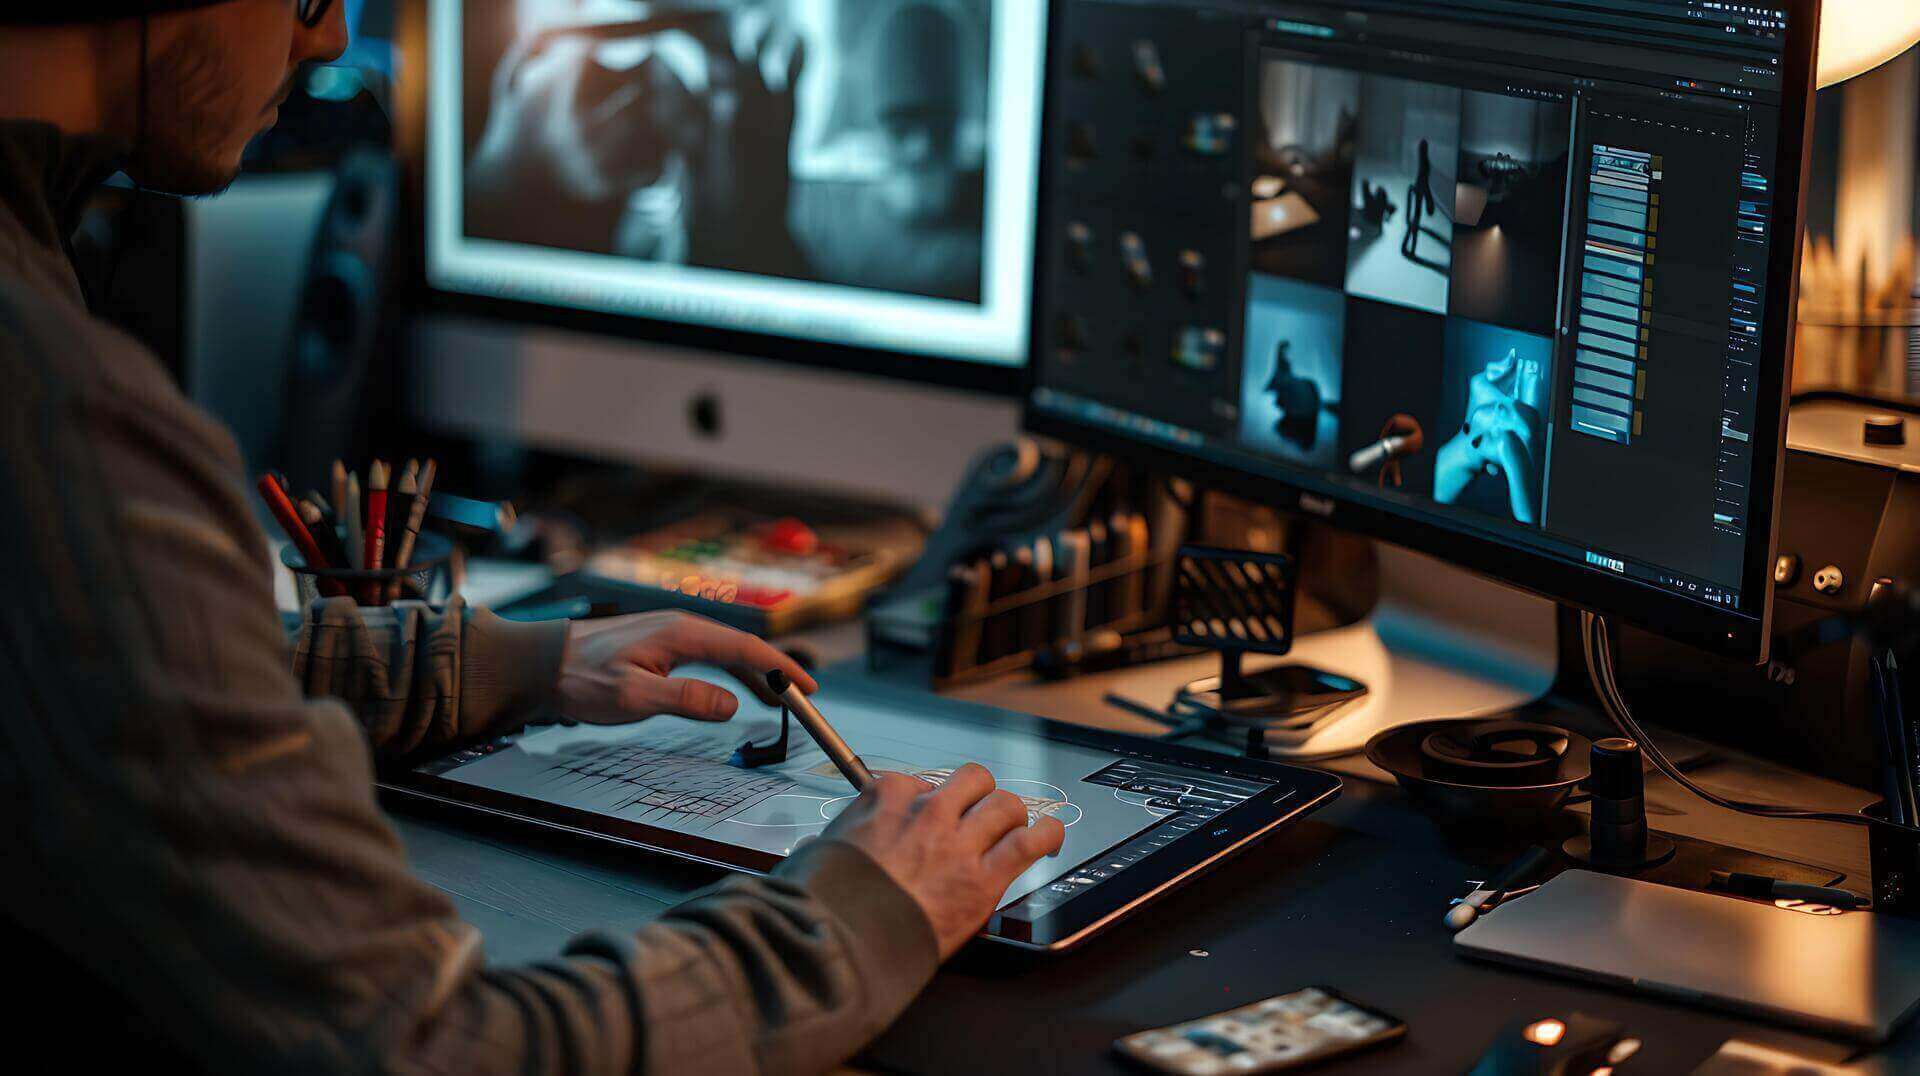
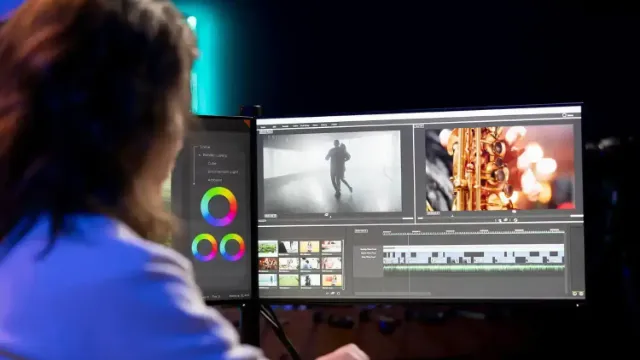
As the world is moving quickly towards digitalization, photoshop has become more and more prominent. Whether you have used it or not, you might have come across this word. Designers, social media influencers, graphic artists, professional photographers, etc., use photoshop. It is an extensively used tool for editing images, manipulating pictures, and creating effects. It provides a lot of tools and options for the user to do so. Therefore, we bring forth some tips and tricks to use photoshop. You can read this blog that will tell you more about writing copyright in Photoshop.
Altering the lighting and contrast
Taking picture definition and dynamics into account, you can improve an image.
A very simple and efficient method to do so is by changing the brightness and contrast of the picture using the Brightness/Contrast Adjustment Layer. The image can be brightened or darkened. Moreover, users can also change the difference in them.
Just click on the Create new fill or adjustment layer icon, which you can see at the base of the layers palette. Using this method, users can retain the original image once it is saved as a file type that stores layers.
Increasing focus on the subject
To emphasize more on a particular thing, you can create a vignette. By doing so, you restrict the subject matter from its surroundings. What happens is that the quality of the image wipes out gradually at the edges creating a focusing effect on the subject.
Click on Lens Correction in the Filter menu and then select Custom. You’ll see a vignette there with two sliders. One will be for setting the amount of darkness or brightness, and the other will be for setting the midpoint.
Use these simple steps to draw attention to the subject.
Also Read: Reasons You Should Use Black and White Effect on Your Photo
3D extrusion
A flat shape or a 2D shape is enlarged vertically to create a 3D effect in extrusion. There are extrusion points, lines, and polygons that will support this enlargement.
To get this effect, click on 3D and select New 3D extrusion from the selected layer. You can rotate the image, cast a shadow, add lighting, and a lot more to create the effect you want.
Colouring monochromatic images
Old pictures are often monochromatic. However, with photoshop, you can add colors to it to improve the quality of the image. All you have to do is hand-color it. That is, color correction is done on old, fading, monochromatic pictures.
Users need to create a new layer and then set this layer to the Colour Blending mode. You can then paint the image with the brush tool and the color palette you want. Photo color balance feature in photoshop is another method of restoring the original colors of an old photograph or just correcting the color cast of the image.
Getting rid of surplus tools
Photoshop has evolved to offer a wide range of options for editing and manipulating images. Seeing so many options can sometimes be overwhelming, especially for a beginner.
However, you can get rid of unwanted tools by hiding them.
You can put away the tools you don’t use in the ‘extra tools’ section. You’ll find this section in the Tools panel, where the Edit Toolbar option is present at the bottom of it. Drag the tools you rarely use in there. Also, if you ever need to use any of those tools, you can access them through the same dialog. Your workplace will look tidier with this method.
Also Read: Advance Photo Recovery Tool to Recover Photos
Using curves to regulate brightness and shadows
You can use the curve to create additional contrast in the image. Users can brighten the highlighted areas, and the shadows can be darkened with this tool.
Make a Curves Adjustment Layer. Choose a center point by clicking on a point on the diagonal line. Next, drag upward on the upper portion of the line and drag downward on the lower portion of the line.
An image with better contrast will be created with these effortless steps.
Add a healing layer.
Pictures have some unwanted spots, blemishes, or under-eye bags that are not appealing to many people. To correct these problematic areas, the Spot Healing Brush tool is effective. Generate a new blank layer. Next, from the Tools panel, opt for the Spot Healing Brush Tool. On the Options bar, mark off the Sample All Layers.
With this method, healing is done on the background layer. As a result, at any point later, if you wish to erase a specific recovery, you can do it easily without having to start from the beginning.
Also Read: Top 5 ways to utilize a photo editing virtual assistants
Selected sharpening
Sharpening the image classifies the edges of it, making it more focused. In addition to this, Photoshop users can correct blurry images by pointing them. However, it cannot rectify an intensely blurred image.
Generate a new blank layer. Once it is created, choose the Sharpen tool and mark off the Sample all Layers. The Sharpen tool aids in building up the effect by repeatedly brushing with low opacity brush edges, making it more focused. In addition to this, software users can correct blurry images by sharpening them. However, it cannot rectify an intensely blurred image.
Conclusion
There are many ways for creating a particular effect in photoshop. However, these are some of the simplest ones to use. With these tricks, brush up your editing skills and improve the dynamics of any image.