How to Solve Windows 11 Sound Problem

Not getting sound in your Windows 11 computer must have panicked you already. We are considering the fact that you have already checked the volume levels and there is no physical harm to your speakers. Well, now if you are wondering why your Windows 11 computer is still not giving sound then it could be your audio software is facing problems, the sound card is troubled or simply the audio driver is not in line.
Considering all the facts and possible problem areas, here are the solutions to fix the sound problem.
Fixed: Windows 11 Sound Problem
Fix 1: Connectivity Of Sound Device
This is the first step you have to take. Check if your sound device like headphones or speakers is working properly and set up connection is working properly. Find out if the cable connection is done properly and it’s not loose at all. If required, try plugging in the sound device to some other computer or laptop for testing. There is also no harm in plugging the sound device to other ports of the computer for confirmation.
Fix 2: Open Play Audio Troubleshooter
For this troubleshooting aspect, follow the steps mentioned below.
1: Press the Start button available on the taskbar.
2: Click the Settings application from the opened up menu.
3: Choose ‘Troubleshoot’ on the system tab here.
4: After opening this, click ‘Other trouble-shooters to open the list of troubleshooters.
5: Locate the ‘Playing audio’ button here and click the ‘Run’ button beside it.
6: Wait till the troubleshooter opens up and fix the issues. If there are any resolutions suggested, follow them up.
Also Read: Top 5 Ways to Fix Windows 11 Stuck on Restarting?
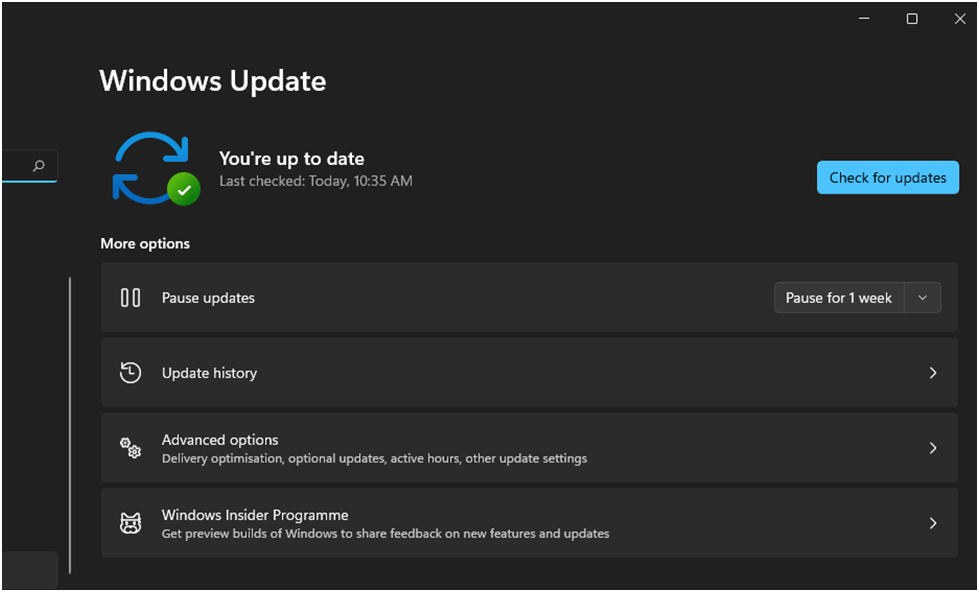
Fix 3: Update the Windows 11
It is another necessary step that you should work upon often so that all the required updates are available timely. For the updates on Windows 11, follow these steps.
1: Go to the magnifying glass icon on the taskbar to open the search utility of Windows.
2: Type here ‘Windows update’ in the search box.
3: Click ‘Windows update settings and the new tab will open up. Step 4: Press the ‘Check for updates button and it will download and install any new update that has been recently released by Windows 11.
Fix 4: Reinstall the Driver For the PC
If the above fixes are falling low for you then you can try reinstalling the driver for the PC sound output device. For this, below steps to be followed.
1: Press Windows key + X hotkey in order to open the shortcut menu.
2: Choose ‘Device Manager’ here on the menu.
3: Just double click ‘Audio inputs and outputs’ near the device manager.
4: Now right-click on the audio output device and try fixing the issue by uninstalling the device. Right-click and select ‘Uninstall device’.
5: When the confirmation box pops up, click ‘Uninstall’.
Step 6: Restart the computer and your Windows 11 will install the new driver automatically.
Also Read: 5 Ways You Can Solve Your Windows Problem
Fix 5: Update Sound Device’s Driver
There are two ways to update the sound driver, manual and automatic. Let us guide you through both of them here.
Manual method: Open the device manager by pressing Windows + X hotkeys at the same time. Now double click on the Audio inputs and outputs in the device manager. Here, right-click on the output device and choose ‘Update driver’. This method is good for updating a single driver.
However, if you wish to keep all the drivers automatically updated without the need for opening an individual driver and updating it then Advanced Driver Updater is a solution. Automatic Method: Advanced Driver Updater is one such tool that automatically scans the whole system, downloading and installing the new update within a quick span of time.
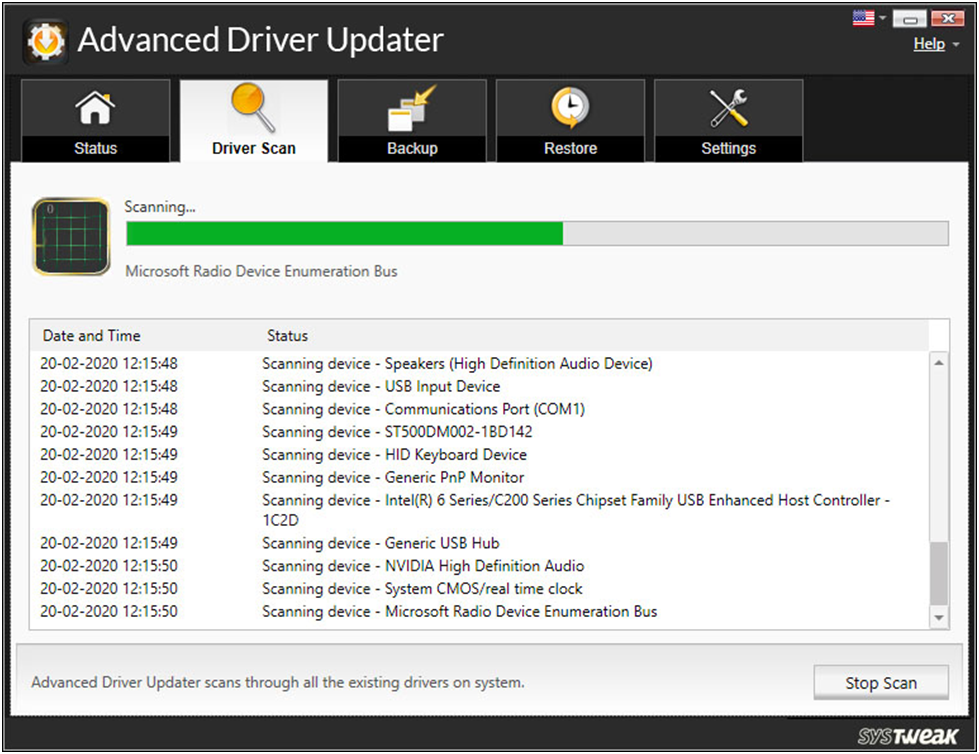
Moreover, this tool also takes a backup of an old driver in order to avoid any compatibility errors in the future. This makes sure that the game performance is also pretty smooth with the proper fixing of hardware like printer, audio, video or gaming errors. In case you don’t want any particular driver from getting updated, you are free to do so using the driver exclusion list. This is why you can call Advanced Driver Updater one of the best driver updaters of all time.
Wrap Up
We hope that you have found out how to fix Windows 11 sound problems already and will be able to work around the whole system through this blog. Which method worked best for you amongst the methods mentioned above? Share your views with us in the comments section below. We still suggest you download and install Advanced Driver Updater in the system for future purposes of solving hardware errors.